WooCommerce is one of WordPress’s most popular e-commerce plugins, offering robust features for setting up an online store. Whether selling physical products, digital downloads, or services, adding products to your WooCommerce store is easy. In this guide, we’ll walk you through the steps to add a product to your WooCommerce store.
Step 1: Install and Activate WooCommerce
If you haven’t already installed WooCommerce, here’s how to get started:
- Log in to your WordPress dashboard.
- Navigate to Plugins > Add New and search for “WooCommerce.”
- Click Install Now and then Activate once the plugin is installed.
Once activated, WooCommerce will guide you through a setup wizard to configure your store settings.
Step 2: Access the WooCommerce Product Page
Once WooCommerce is installed and configured, you can start adding products:
- From the WordPress dashboard, go to Products > Add New.

Step 3: Add Product Name and Description
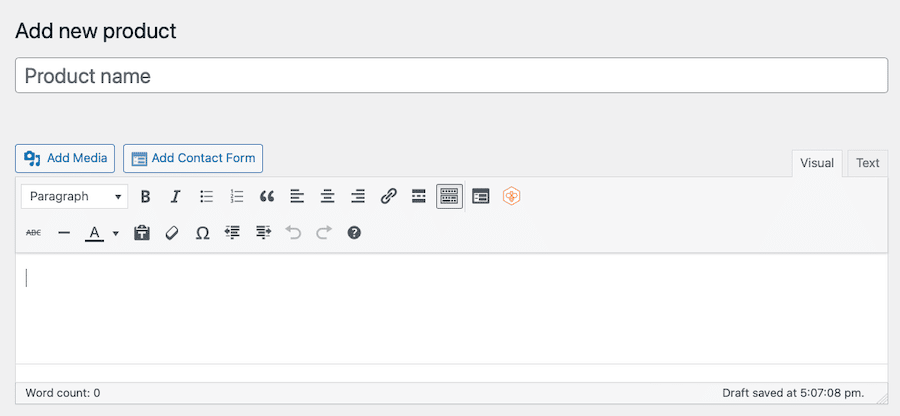
- Product Name: At the top, enter the name of your product in the Product Name field.
- Product Description: In the large text editor below, add a detailed description of your product. This is where you can highlight the key features, benefits, and specifications.

Step 4: Choose the Product Data Type
Under the Product Data section, you can choose the type of product you want to add. WooCommerce offers several types of products:
- Simple product: A single item with no variations (e.g., color, size).
- Grouped product: A collection of related products.
- External/Affiliate product: Products you promote but are sold on another website.
- Variable product: Products with variations (e.g., different sizes or colors).
For most users, “Simple Product” is the most common option, but you can select Variable Product if your product has multiple variations.
Step 5: Set the Price
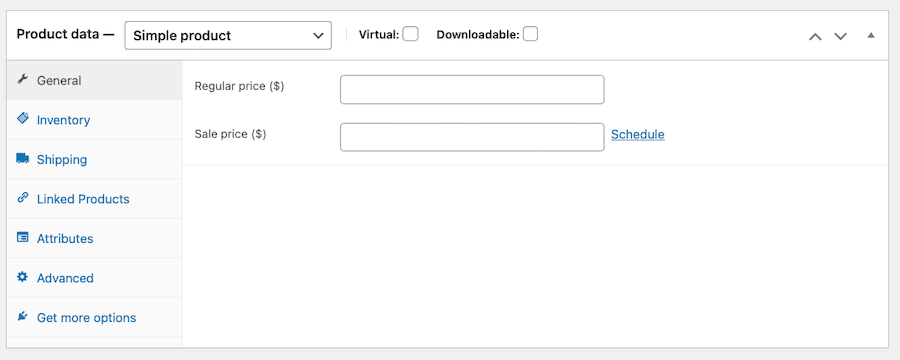
In the Product Data section, you’ll find fields for setting the price:
- Regular price: The normal selling price of the product.
- Sale price (optional): If you’re offering a discounted price, enter it here and schedule the sale if needed.

Step 6: Manage Stock and Inventory
If you’re managing stock, navigate to the Inventory tab within the Product Data section:
- SKU: Enter a unique identifier (Stock Keeping Unit) for the product.
- Manage Stock: Enable this option to track stock levels. You can then enter the stock quantity available.
- Stock Status: Choose whether the product is In Stock or Out of Stock.

Step 7: Set Shipping Options (for Physical Products)
In the Shipping tab of the Product Data section, enter the product’s:
- Weight (in kg or lbs).
- Dimensions (length, width, height).
You can also assign the product to a shipping class if applicable.

Step 8: Add Product Attributes (for Variable Products)
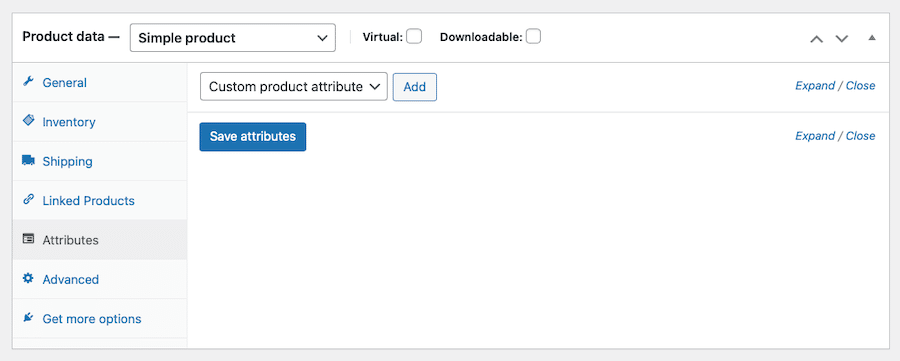
If you’re adding a variable product (e.g., a t-shirt with different sizes or colors), go to the Attributes tab. You’ll need to create attributes such as size or color and add their values.
- Click Add under Custom Product Attribute, then create the attribute (e.g., Color, Size) and list the possible variations (e.g., Red, Blue for colors; Small, Medium for sizes).

Step 9: Set a Product Short Description
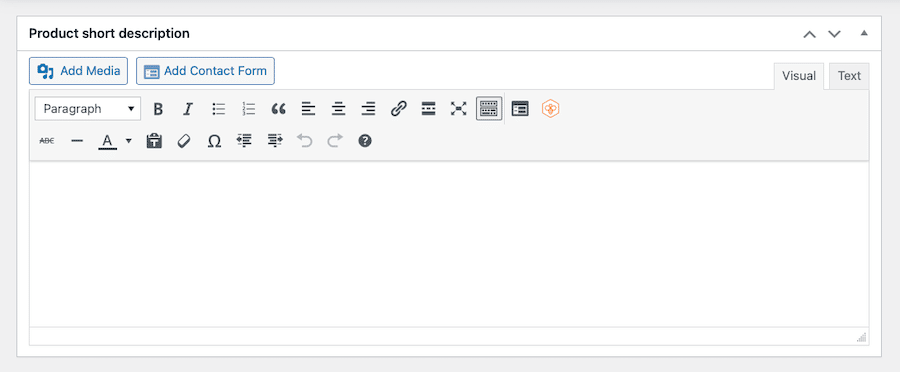
Scroll down to the Product Short Description section, which appears next to the product title on your product page. This description should be a concise summary of the product.

Step 10: Add Product Images
Images are crucial for showcasing your products. WooCommerce allows you to set:
- Product Image: This is the main image for your product.
- Product Gallery: You can add additional images to showcase different angles or features.
To add images:
- Click Set product image in the right-hand panel to upload or choose an image from your media library.

- For a product gallery, click Add product gallery images and select multiple images.

Step 11: Assign Product Categories and Tags
Categorize your product to make it easier for customers to find:
- On the right-hand side of the page, under Product Categories, you can select an existing category or create a new one.
- You can also add Product Tags for additional filtering and searchability.


Step 12: Publish Your Product
Once all the product information is filled out:
- Preview your product to see how it will look on your website.
- If everything looks good, click Publish to make your product live on your store.
Bonus Tips:
- SEO Optimization: Don’t forget to optimize your product title and description with relevant keywords. Use a plugin like Yoast SEO to improve your product’s visibility on search engines.
- Product Reviews: Enable customer reviews to build trust and provide social proof.
- Upsells and Cross-Sells: WooCommerce allows you to recommend related products under the Linked Products section, which can boost sales.
Conclusion
Adding products to your WooCommerce store is simple, and with these steps, you’ll have your online store up and running in no time. Whether you’re managing a few products or hundreds, WooCommerce provides a flexible, user-friendly interface to help you scale your e-commerce business effectively. Happy selling!
Let us know in the comments if you need help customizing your WooCommerce store further!

